Category Archives: Bitlocker

Microsoft Under Fire: How to Protect Your PC from the ‘YellowKey’ BitLocker Bypass

The cybersecurity world is currently in absolute chaos. A security researcher known as “Nightmare Eclipse” has publicly leaked six critical, zero-day vulnerabilities affecting Windows Defender and BitLocker. Frustrated by Microsoft’s handling of their initial bug bounty reports, the researcher decided to drop the source code directly onto GitHub and GitLab before Microsoft could issue official patches.

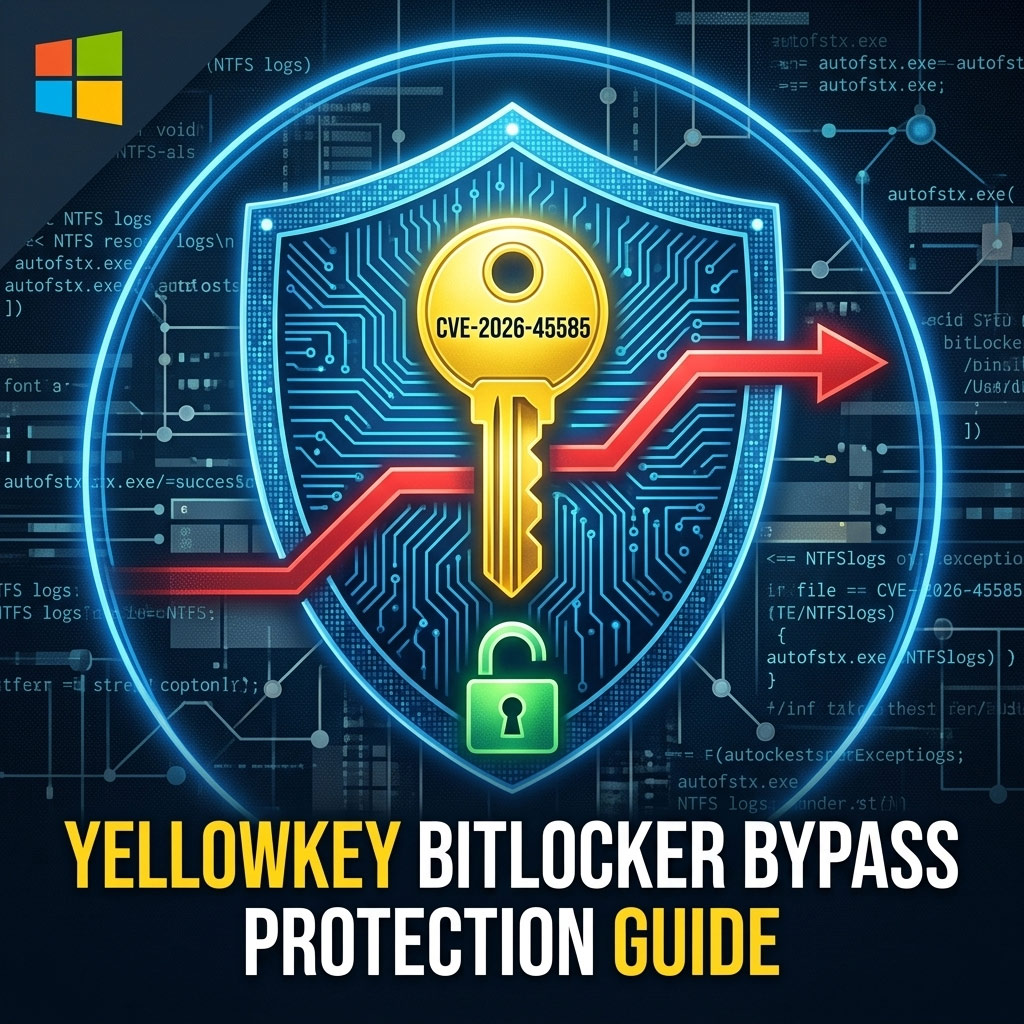
Among these leaks, the most alarming vulnerability for everyday users is CVE-2026-45585, dubbed “YellowKey.” This flaw allows attackers with physical access to bypass BitLocker disk encryption entirely and gain full administrative control over your drive via the Windows Recovery Environment (WinRE).


What is the ‘YellowKey’ BitLocker Flaw?

Normally, BitLocker uses your motherboard’s TPM (Trusted Platform Module) chip to automatically release the encryption keys and boot seamlessly into Windows. However, the YellowKey exploit manipulates NTFS logs and a Windows system file called autofstx.exe during the boot phase inside WinRE.

By executing this flaw, an attacker who physically steals your laptop or accesses it while you are away can force-open an elevated Command Prompt (CMD) before Windows even loads. From there, your encrypted files are completely exposed.

The Good News: This is a physical-only exploit. Remote hackers cannot attack your PC over the internet using this flaw. Furthermore, Microsoft explicitly stated that if you are using a TPM + Startup PIN, this vulnerability is completely unexploitable!

Step-by-Step Guide: How to Enable a BitLocker Startup PIN

If your OS drive (C:) is already encrypted with BitLocker, you don’t need to decrypt or reinstall anything. You can add a Startup PIN on top of your existing setup using these simple steps:

Step 1: Enable Startup PIN in Windows Group Policy

By default, Windows won’t allow you to set a PIN alongside a TPM. We must enable it via the Local Group Policy Editor first:

  1. Press Win + R, type gpedit.msc, and hit Enter.
  2. Navigate to the following folder path on the left panel:
    Computer Configuration -> Administrative Templates -> Windows Components -> BitLocker Drive Encryption -> Operating System Drives
  3. On the right-side list, find and double-click on “Require additional authentication at startup”.
  4. Switch the toggle at the top to Enabled.
  5. Under the Options box below, locate “Configure TPM startup PIN:” and change it to “Require startup PIN with TPM”.
  6. Click Apply and then OK. You can now close the Group Policy window.

Step 2: Add the PIN via Command Prompt

Now, we will officially assign your unique Startup PIN using an elevated Command Prompt:

  1. Search for cmd in your Start Menu, right-click on it, and select “Run as administrator”.
  2. Copy and paste the following command into CMD and press Enter:
    manage-bde -protectors -add c: -TPMAndPIN
  3. The terminal will prompt you: Type the PIN to use to protect the volume:. Type a secure PIN (minimum 4-6 digits/characters). (Note: For security reasons, the characters will not appear on the screen as you type, so type carefully!)
  4. Press Enter, and confirm the PIN by typing it again when prompted.

If successful, you will see a message stating Key Protectors Added: TPM And PIN.


Step 3: Verify Your New Security Status

To double-check if your system is now fully armored against the YellowKey bypass, run this command in your admin CMD:

manage-bde -status c:

Look under the “Key Protectors” section at the bottom. You should see both Numerical Password (your original recovery key) and TPM And PIN listed clearly.

The next time you reboot your computer, a blue or black BitLocker screen will appear demanding your PIN before Windows even displays its logo. Even if someone physically strips your SSD out or manipulates the recovery environment, they are officially locked out!


Conclusion

While Microsoft is currently rushing to build official patches to address this drama before the researcher drops another “bombshell” update, taking matters into your own hands is the ultimate way to stay secure. Enable your Startup PIN today, keep your Windows Updates turned on, and rest easy knowing your data is untouchable.

Enable BitLocker without TPM on Windows 10 & 11

Enable BitLocker without TPM on Windows 10 & 11

BitLocker is Microsoft’s built‑in drive encryption tool. By default it prefers a Trusted Platform Module (TPM), but you can enable BitLocker on PCs without TPM by adjusting a policy and using a password or USB startup key.


Step‑by‑step guide (OS Drive)

  1. Open Group Policy Editor
    Press Win + R, type gpedit.msc, and press Enter.
  2. Navigate to BitLocker settings
    Go to:
    Computer Configuration → Administrative Templates → Windows Components → BitLocker Drive Encryption → Operating System Drives
  3. Enable non‑TPM option
    Open Require additional authentication at startup → set to Enabled → tick Allow BitLocker without a compatible TPMApplyOK.
  4. Restart your PC
    This ensures the policy takes effect.
  5. Turn on BitLocker
    Control Panel → BitLocker Drive Encryption → select your system drive → Turn on BitLocker.
    Choose Password or USB startup key as your unlock method and follow the prompts.

Encrypting Other Partitions (Data Drives)

BitLocker policies are divided into three categories: Operating System Drives, Fixed Data Drives, and Removable Data Drives. The TPM requirement applies mainly to OS drives. For other partitions, you can enable BitLocker directly.

  1. Fixed Data Drives (D:, E:, etc.)
    – Open Control Panel → BitLocker Drive Encryption.
    – Select the partition → Turn on BitLocker.
    – Choose a password or smart card unlock method.
    – Optional: Configure policies under Computer Configuration → Administrative Templates → Windows Components → BitLocker Drive Encryption → Fixed Data Drives.
  2. Removable Drives (USB, external HDD)
    – BitLocker To Go handles these.
    – Turn on BitLocker from Control Panel.
    – Set a password to unlock on any PC.
    – Optional policies under BitLocker Drive Encryption → Removable Data Drives.

PowerShell quick start (optional)

# Enable policy for OS drives without TPM
reg add "HKLM\SOFTWARE\Policies\Microsoft\FVE" /v EnableBDEWithNoTPM /t REG_DWORD /d 1 /f

# Turn on BitLocker on C: with password
Manage-bde -on C: -Password

# Encrypt a data drive (example D:)
Manage-bde -on D: -Password

# View status
Manage-bde -status

Best practices

  • Backup first: Always back up important files before encrypting.
  • Save your recovery key: Store it in multiple safe locations (USB, password manager, and a printed copy).
  • Performance: Initial encryption can take hours depending on drive size; you can keep working while it runs.
  • Password strength: Use a long passphrase if not using TPM.

Comfort insight: Think of OS drives as the main shrine gate needing special ritual keys, while data drives are side gates that can be locked with simpler keys. Configure each gate according to its role for maximum serenity and security.

BitLocker auto‑unlock for a data disk in a Hyper‑V VM (no TPM)

BitLocker auto‑unlock for a data disk in a Hyper‑V VM (no TPM)

This enables automatic unlock for a BitLocker‑protected data volume inside a Hyper‑V VM without TPM. Unlock once, then turn on auto‑unlock.

Prerequisites

  • Scope: Data disk (not OS partition)
  • Inside VM: Run all commands in the guest Windows VM
  • Drive letter: Replace D: with your data volume

Step 1: Unlock the data disk once

Use your BitLocker password (you will be prompted interactively):

manage-bde -unlock D: -Password
  

Step 2: Enable automatic unlock

Tell Windows to remember the key and auto‑unlock this data volume whenever the OS volume is unlocked:

manage-bde -autounlock -enable D:
  

Step 3: Verify status

Confirm that auto‑unlock is enabled:

manage-bde -status D:
  

Notes

  • No TPM needed: Auto‑unlock for data volumes stores the key on the OS volume.
  • VM moves: If the VM/VHDX is moved or restored, re‑enable auto‑unlock.
  • Backup: Keep the recovery key safely backed up (file, printout, or account).

XTS‑AES 256‑bit encryption in Windows | Bitlocker

Kapothi legacy post: XTS‑AES 256‑bit encryption in Windows

Seal your restored archives inside a sovereign capsule — by law (Group Policy) or by ritual (PowerShell).

What is XTS‑AES 256‑bit encryption?

XTS is a mode of operation designed for disk encryption. It encrypts data by sector and resists manipulation by binding encryption to the physical layout of the disk.

AES 256‑bit uses a 256‑bit key, offering extremely strong protection against brute‑force attacks and aligning with modern enterprise standards.

Combined, XTS‑AES 256 is the industry standard for full‑disk and volume encryption, used by tools like BitLocker and VeraCrypt to protect sensitive archives.

“The capsule holds the scrolls, the cipher seals them — together they become unbreakable legacy.”

What is the default in Windows?

By default, BitLocker uses XTS‑AES 128‑bit encryption for new volumes. It’s efficient and secure, but archivists often choose XTS‑AES 256‑bit for maximum resilience and future‑proofing.

Enable XTS‑AES 256‑bit with Group Policy (system‑wide default)

  1. Press Win + R, type gpedit.msc, and press Enter.
  2. Navigate to:
    Computer Configuration > Administrative Templates > Windows Components > BitLocker Drive Encryption
  3. Open Choose drive encryption method and cipher strength for each drive type you use.
  4. Set the policy to Enabled and choose XTS‑AES 256‑bit.
  5. Apply and restart Windows.

Enable XTS‑AES 256‑bit with PowerShell (per‑drive ritual)

BitLocker requires a protector (password, recovery key, TPM, etc.). The correct ritual is a three‑step sequence:

Step 1: Enable BitLocker with a password protector

Enable-BitLocker -MountPoint "Y:" -PasswordProtector -EncryptionMethod XtsAes256
    

Step 2: Add a recovery key protector

Add-BitLockerKeyProtector -MountPoint "Y:" -RecoveryPasswordProtector
    

Step 3: Verify encryption and protectors

Get-BitLockerVolume -MountPoint "Y:"
    

Replace Y: with your drive letter. This ensures the capsule is sealed with XTS‑AES 256‑bit and has redundant unlock methods.

Optional: Create and encrypt a VHD capsule

  1. Create VHD: Open Disk Management → Action → Create VHD → choose location/size → initialize (GPT) → format (NTFS).
  2. Assign a drive letter (e.g., Y:).
  3. Encrypt with the three‑step PowerShell ritual above.
  4. Save the recovery key to an offline location (print or store in a separate, secured archive).

Verify BitLocker Encryption Strength

You can confirm whether a drive is sealed with XTS‑AES 128 or XTS‑AES 256 using these commands:

PowerShell

Get-BitLockerVolume -MountPoint "Y:" | fl
  

Command Prompt

manage-bde -status Y:
  

Replace Y: with your drive letter. Both commands will display the Encryption Method, showing whether the capsule is protected with XTS‑AES 128 or XTS‑AES 256.

Troubleshooting common errors

  • Access denied: Run PowerShell as Administrator.
  • Not associated with BitLocker volume: Ensure the drive is mounted, initialized, and formatted.
  • Parameter set cannot be resolved: Only one protector can be used with Enable-BitLocker. Add others afterwards with Add-BitLockerKeyProtector.

“The capsule must be mounted, the scroll must be formatted, and the ritual must be invoked with authority.”

Kapothi editorial note: This scroll now includes the corrected three‑step PowerShell ritual, stylized command boxes, and troubleshooting guidance for archivists sealing their capsules.