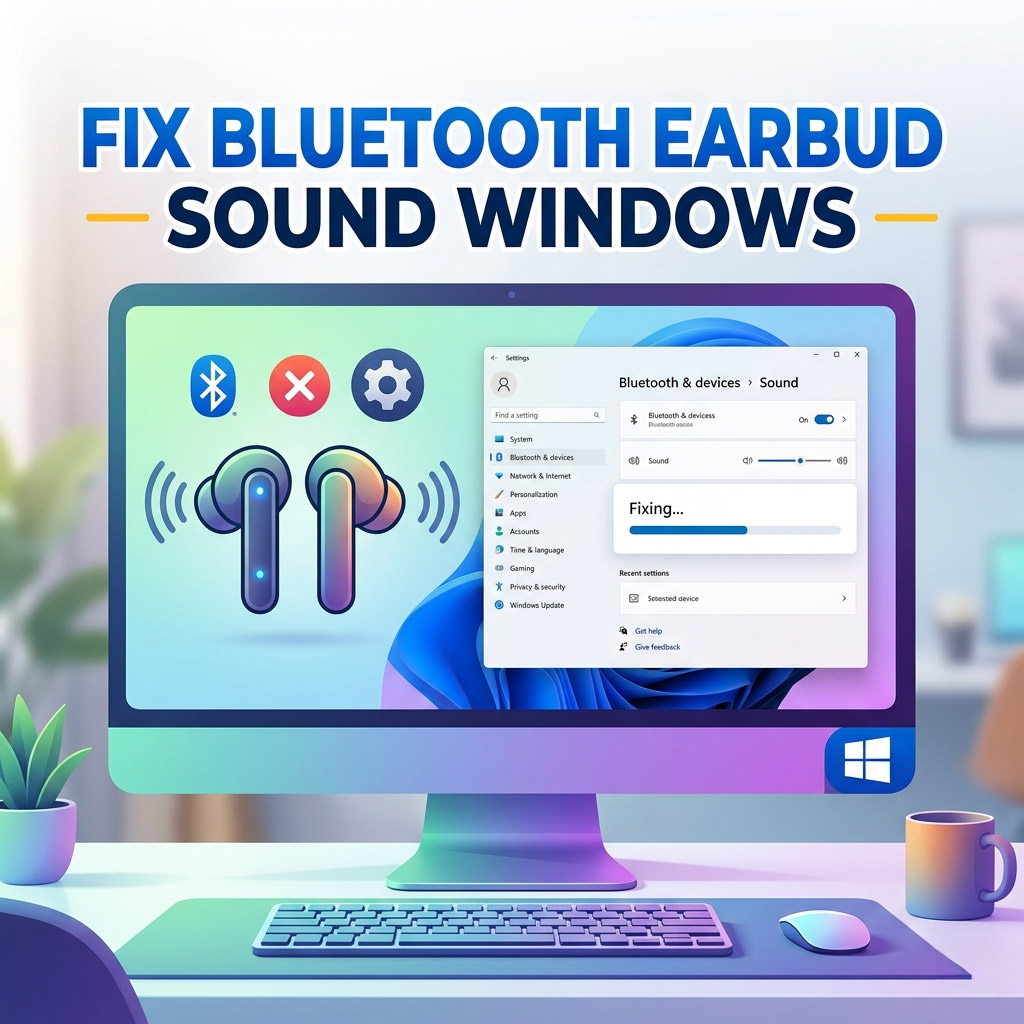
Fix Bluetooth Earbud Sound by Disabling Hands‑Free Telephony in Windows
Many Bluetooth earbuds sound great on phones but poor on laptops. This happens because Windows often connects them in Hands‑Free Telephony (HFP/HSP) mode, which prioritizes the mic but drastically reduces audio quality. To get rich stereo sound, you need to force Stereo (A2DP) mode.
Step 1: Check Playback Devices
- Right‑click the speaker icon in the taskbar.
- Windows 10: Choose Sounds.
- Windows 11: Choose Sound Settings, scroll down, and click More sound settings.
- Go to the Playback tab.
- Look for two entries for your earbuds:
- Headset (Hands‑Free AG Audio): Low quality, mono sound.
- Headphones (Stereo): High quality, rich audio.
- Select Headphones (Stereo) and click Set Default.
Step 2: Disable Hands‑Free Telephony
This is the “permanent fix” that prevents Windows from switching back to low-quality audio.
- Open Control Panel → Hardware and Sound → Devices and Printers.
- Find your earbuds under the “Devices” section. Right‑click them and choose Properties.
- Go to the Services tab (wait a few seconds for it to load).
- Uncheck the box for Hands‑Free Telephony.
- Click Apply. Your earbuds may disconnect and reconnect automatically.
Important Note: Disabling this service turns off the earbud’s built-in microphone. You will need to use your laptop’s internal mic for Zoom or Discord calls.
Step 3: Enable Audio Enhancements
Once your earbuds are locked in Stereo mode, you can further improve the depth of the audio.
- Return to the Playback tab (from Step 1).
- Select your Stereo Headphones → click Properties.
- Open the Enhancements tab. (Note: If this tab is missing, your hardware uses a third-party app like Realtek or Dolby for these settings).
- Enable the following:
- Bass Boost: Adds depth and punch to low frequencies.
- Loudness Equalization: Balances volume for a fuller sound.
- Click Apply → OK.
Result
By removing the Hands-Free bottleneck, your Bluetooth earbuds will sound richer, warmer, and closer to phone‑level quality—even on older hardware. You can re-enable the service at any time if you find you specifically need the earbud mic for a call.
Conclusion
Unlocking the Stereo (A2DP) profile is the best way to enjoy music and movies on Windows. While you lose the earbud microphone, the massive jump in audio quality is almost always worth the trade-off.