FxSound Auto-Switch Issue: Complete Fix Guide
After installing FxSound, Windows often sets DFX Speakers as the default playback device. This can cause confusion if you want to keep using your normal speakers or headphones (e.g., Realtek Audio). Here’s the full fix guide for every user.
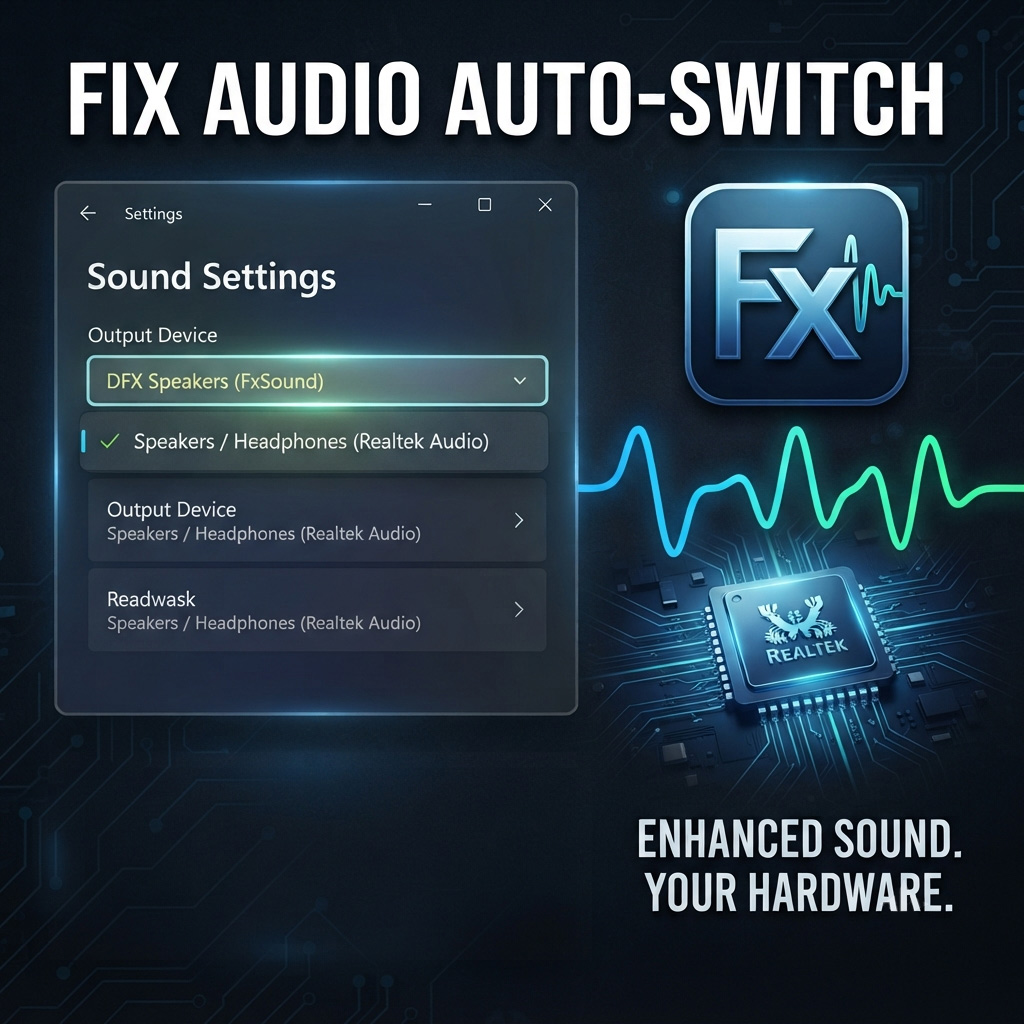
01 – Set Default Output Device
Windows switches to FxSound’s virtual device by default, so you need to reset your preferred device.
- Go to Settings → System → Sound → Output
- Under Output, select Speakers / Headphones (Realtek Audio) or your usual device
- Click Set as default
- Ensure FxSound is still running in background (it will enhance Realtek output without switching)
02 – Check Volume Mixer
Sometimes apps are routed to FxSound instead of your preferred device. This is the most common fix.
- Right‑click the taskbar speaker icon → Open Volume Mixer
- Find your apps in the list
- Assign them to Speakers / Headphones (Realtek Audio)
- Ensure sliders are above 50%
03 – Disable Auto-Switch
Prevent Windows from auto‑switching when FxSound updates drivers.
- Press Win + R → type
mmsys.cpl→ Enter - In Playback tab, right‑click Realtek Audio → Set as Default Device
- Right‑click DFX Speakers → Disable if you don’t want it selectable
- Apply changes and restart
Final Thoughts
By following these steps, you’ll stop Windows from auto‑switching to DFX Speakers while still enjoying FxSound’s enhancements. This ensures clean, powerful audio on your preferred device without interruptions.
Note on Older Paid Versions
If you are using the older paid FxSound / DFX Audio Enhancer versions (around 2020), you may still experience the auto-switch issue even after applying the fixes above. This happens because those legacy builds rely on outdated virtual drivers that Windows often sets as default.
The latest FxSound has been made free and open-source, with a modern interface and improved stability. It no longer forces the DFX Speakers device as default, and works smoothly with Windows 10 and 11.
👉 We strongly recommend upgrading to the latest FxSound build from the official site: https://www.fxsound.com/download. It’s free, community-supported, and permanently fixes the auto-switch problem.