Category Archives: Exchange 2013

📨 How to Set Out of Office Replies in Exchange Server (2013/2016/2019)

📨 How to Set Out of Office Replies in Exchange Server (2013/2016/2019)

When a colleague is away, it’s important to let senders know automatically. Microsoft Exchange provides a simple way to configure Out of Office (Automatic Replies) either by the user themselves or by an administrator. Here’s the complete guide.

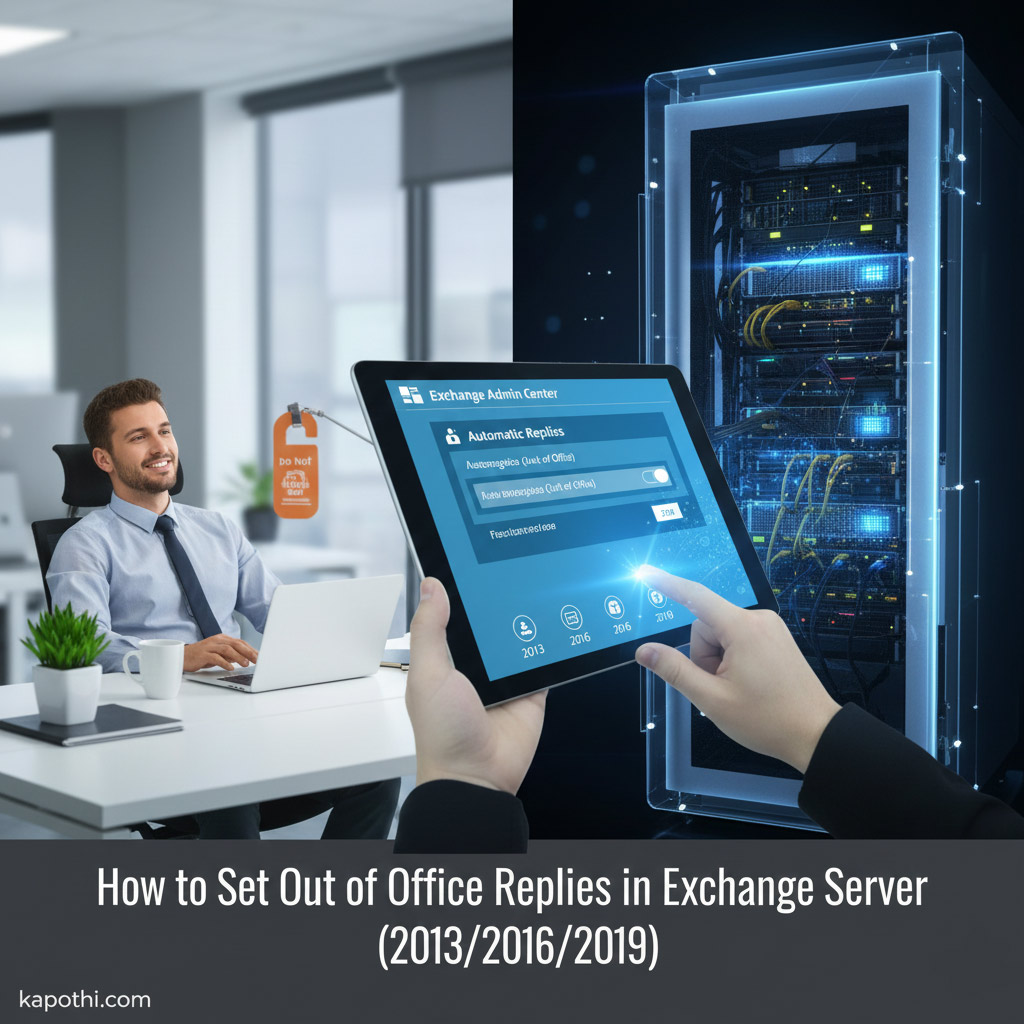
1. User Method (Outlook / OWA)

  • Outlook (desktop app)
    Go to File → Automatic Replies (Out of Office). Select Send automatic replies. Add your message for Inside My Organization and Outside My Organization. Optionally set start and end dates.
  • Outlook Web App (OWA)
    Log in to OWA. Navigate to Options → Organize Email → Automatic Replies. Enable automatic replies and configure your message.

2. Admin Method (Exchange Management Shell)

If the user cannot log in, administrators can set Out of Office replies on their behalf using PowerShell:

Set-MailboxAutoReplyConfiguration -Identity "[email protected]" -AutoReplyState Scheduled -StartTime "MM/DD/YYYY HH:MMAM" -EndTime "MM/DD/YYYY HH:MMPM" -InternalMessage "Internal auto-reply message here." -ExternalMessage "External auto-reply message here."

Key Parameters

  • Identity → the user’s mailbox (email address or alias).
  • AutoReplyState → Enabled, Disabled, or Scheduled.
  • StartTime / EndTime → define when replies begin and stop.
  • InternalMessage → message for colleagues.
  • ExternalMessage → message for outside senders.

3. Verification Ritual

After setting the configuration, always verify:

Get-MailboxAutoReplyConfiguration -Identity "[email protected]"
  • AutoReplyState is set to Scheduled.
  • StartTime and EndTime match the intended period.
  • InternalMessage and ExternalMessage are correct.

4. Testing

  • Send a test email from an internal account → confirm the internal reply.
  • Send a test email from an external account → confirm the external reply.
  • After the EndTime, send another test → confirm no auto-reply is sent.

🛡️ Comfort Insight

Think of this process as carving a temporary scroll into the Exchange shrine: the scroll activates at the start time, delivers the message faithfully to all senders, and at the end time, the scroll rolls up automatically, leaving the mailbox back to normal.

✨ With these steps, your organization can ensure smooth communication even when team members are away.

Exchange 2013 Auth Certificate Renewal Guide

Exchange 2013 Auth Certificate Renewal Guide

Introduction

The Microsoft Exchange Server Auth Certificate is a self‑signed certificate used for server‑to‑server authentication and hybrid trust with Microsoft 365. In Exchange Server 2013, this certificate does not renew automatically and must be replaced manually before expiry. If it expires, hybrid features such as free/busy lookups and mail flow can break.


Renewal Steps

1. Generate a New Certificate

New-ExchangeCertificate -FriendlyName “Microsoft Exchange Server Auth Certificate” -PrivateKeyExportable $true
  • Creates a new self‑signed certificate.
  • Ensures the private key is exportable (required for AuthConfig).

Important: SMTP Certificate Prompt

When running New-ExchangeCertificate to create the Auth certificate, Exchange may prompt:

Do you want to replace the default SMTP certificate? (Y/N)

This prompt appears because Exchange certificates can technically be assigned to multiple services, including SMTP (mail transport) and AuthConfig (OAuth trust). However, the Microsoft Exchange Server Auth Certificate is only intended for AuthConfig and should not be bound to SMTP.

  • When creating the Auth certificate, always choose No at this prompt.
  • Your existing SMTP certificate remains active and continues to handle mail transport.
  • If your SMTP certificate itself is expiring, renew or replace it separately and then assign it using:
Enable-ExchangeCertificate -Thumbprint <Thumbprint> -Services SMTP

Tip: Always verify SMTP mail flow after making changes. Use Get-ExchangeCertificate to confirm which certificate is bound to SMTP.

2. Capture the Thumbprint

Copy the thumbprint from the command output for use in the next step.

3. Set the New Certificate in AuthConfig

Set-AuthConfig -NewCertificateThumbprint <Thumbprint> -NewCertificateEffectiveDate (Get-Date)
  • Applies the new certificate immediately.
  • Exchange 2013 requires the effective date to be specified.
  • In single‑server environments, immediate activation is safe.

Alternative for multi‑server environments:
Use the following command to set the effective date 48 hours ahead, allowing replication across all servers:

Set-AuthConfig -NewCertificateThumbprint <Thumbprint> -NewCertificateEffectiveDate (Get-Date).AddHours(48)

4. Restart the Service

Restart-Service MSExchangeServiceHost
  • Reloads Exchange components to apply the new certificate.
  • Service display name: Microsoft Exchange Service Host.

5. Verify Configuration

Get-AuthConfig
  • Confirm that CurrentCertificateThumbprint matches the new certificate.
  • Ensure the old certificate is listed as PreviousCertificateThumbprint.

Rollback (Repoint to Previous Certificate)

If you need to revert to the old certificate (for example, if issues arise after renewal), you can repoint AuthConfig to the previous thumbprint.

Set-AuthConfig -NewCertificateThumbprint <PreviousThumbprint> -NewCertificateEffectiveDate (Get-Date)
  • Reverts AuthConfig to the previous certificate immediately.
  • Use Get-AuthConfig to confirm the rollback.

Warning: Only rollback if the previous certificate is still valid (not expired). If expired, renewal is mandatory.


Notes

  • Always document thumbprints and expiry dates for future reference.
  • Remove any unwanted certificates (e.g., ones created without exportable keys) using:
Remove-ExchangeCertificate -Thumbprint <Thumbprint>

Conclusion

Renewing the Microsoft Exchange Server Auth Certificate in Exchange 2013 is essential for maintaining hybrid functionality with Microsoft 365. Following the steps above ensures secure OAuth trust and uninterrupted service continuity. Including rollback and SMTP guidance ensures admins can recover quickly and handle all prompts confidently.