Kapothi Scroll: Compacting VHD/VHDX with PowerShell & SDelete
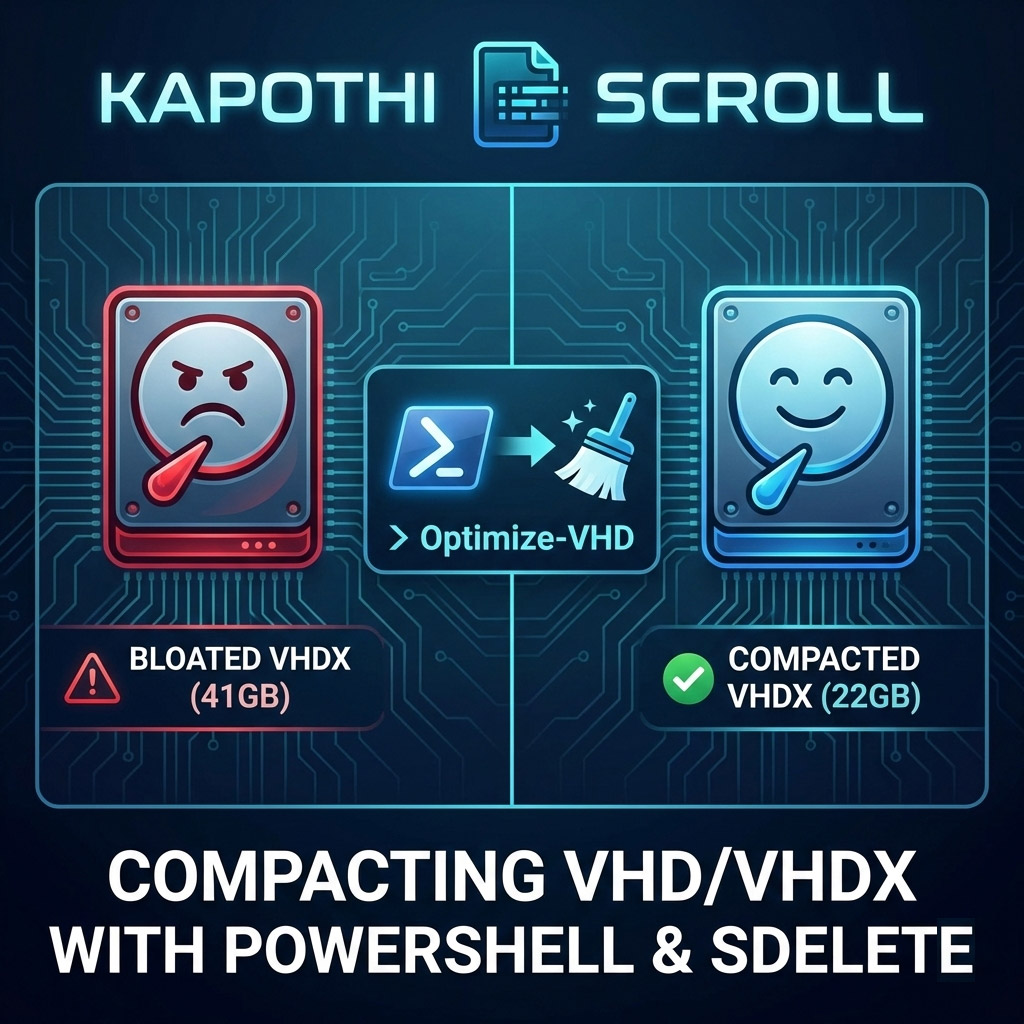
Kapothi — Sinhala slang for “getting into a big problem” — is exactly how it feels when your VHDX file swells to double its real usage size. A 22GB disk showing up as 41GB? That’s a Kapothi moment. Here’s the ritual to reclaim space.
Command Box Legend (Kapothi Style)
What is SDelete and How to Get It
SDelete is part of the legendary Sysinternals Suite created by Mark Russinovich. It is a secure delete utility that can overwrite free space with zeros, making it visible to compaction tools like Optimize-VHD. Without this step, deleted files inside a VM still appear as “used blocks” to the VHDX file, preventing shrinkage.
In Kapothi terms, SDelete is the chalk ritual: it marks the courtyard stones so the lantern keeper knows which ones are truly empty.
How to Get SDelete
- Download SDelete from the official Microsoft Sysinternals page.
- Extract the
sdelete.exefile. - Run it inside your VM from an elevated Command Prompt.
# Example usage inside VM
sdelete -z C:
This command writes zeros to all free space on the C: drive. Once complete, you can shut down the VM and run Optimize-VHD on the host to reclaim space.
Step 1: Sweep the Courtyard (Zero Free Space with SDelete)
Inside the VM, run SDelete to mark free blocks with zeros. Without this, compaction won’t know which stones are truly empty.
# Run inside the VM (Command Prompt as Administrator)
sdelete -z C:
This may take time, but it’s the chalk ritual that reveals unused courtyard tiles.
Step 2: Compact the VHDX (Optimize-VHD)
Back on the host, use PowerShell to mount, optimize, and dismount the disk.
# Mount the VHDX
Mount-VHD -Path "C:\Path\To\YourDisk.vhdx" -ReadOnly

# Compact the disk
Optimize-VHD -Path "C:\Path\To\YourDisk.vhdx" -Mode Full

# Dismount when done
Dismount-VHD -Path "C:\Path\To\YourDisk.vhdx"
– -Mode Quick → faster, less thorough
– -Mode Full → slower, maximum space reclaimed
Step 3: Verify the Lantern’s Weight
After compaction, check the file size. It should shrink closer to the real usage (~22GB). Some overhead remains, but the bloat is gone.
Step 4: Last Resort — Rebirth with Disk2VHD
If compaction still doesn’t shrink enough, create a new disk using Disk2VHD:
- Download Disk2VHD from Microsoft Sysinternals.
- Run it inside the VM.
- Select the volumes you want to capture.
- Save to a new VHDX file.
- Attach the new disk in Hyper-V and retire the bloated one.
This is the rebirth ritual: a fresh lantern forged, carrying only the light you need.
Kapothi Wisdom
– SDelete first, then Optimize-VHD → Without sweeping the courtyard, the lantern keeper can’t lift away unused stones.
– Protect your shrine tools → Always run compaction after major deletions inside the VM.
– Disk2VHD fallback → When the lantern is too heavy, forge a new one.
🕯️ In Kapothi terms, this is turning a “big problem” into a ritual solution: chalk the stones, sweep the courtyard, and if needed, rebuild the lantern itself.