🌀 Kapothi Tech Adventure: The Space That Broke the Sync
The Mystery
OneDrive showed a scary error:
Bad Request (status code 400)… The provided name cannot contain leading, or trailing, spaces.
The file looked fine, but hidden at the start was a sneaky space: " Ada Vessantara Raja Putha - Various Artists.mp3"
The Fix
Step 1: Spot the hidden space.
Step 2: Rename the file to remove it.
Step 3: Sync again — and it works!
The PowerShell Spell (for 100s of files)
# Go to the folder where your files are
cd "C:\SINHALA\OLD\Noorthi Gee Collection"

# Clean all filenames in this folder
Get-ChildItem -File | ForEach-Object {
    $newName = $_.Name.Trim()
    if ($newName -ne $_.Name) {
        Rename-Item $_.FullName $newName
    }
}

# If you want to include subfolders too:
Get-ChildItem -File -Recurse | ForEach-Object {
    $newName = $_.Name.Trim()
    if ($newName -ne $_.Name) {
        Rename-Item $_.FullName $newName
    }
}
The Lesson
Even invisible spaces can break big systems. Computers are precise, so every character matters.
Removing those ghost spaces turns errors into success — whether it’s one file or hundreds.
🌟 Kapothi Kids Scroll: The Super-Speedy Story of the Internet!
Hello, amazing adventurers! Do you ever wonder how videos, games, and messages zoom across the world instantly?
Let’s peek behind the screen and see the incredible journey of the Internet!
The Internet Story: A Timeline of Tech!
Let’s zoom back in time and see how our digital world grew up:
🚀 Chapter 1: The Secret Whisper (The First Spark)
Long, long ago, computers were HUGE—bigger than your bedroom! Scientists wanted these giant brains to talk to each other, but they needed a way to connect them.
They built a secret system called ARPANET.
Imagine building underground tunnels 🚇 between secret laboratories, so the computers could whisper important secrets back and forth. This secret whisper network was the grandpa of the internet!
🧱 Chapter 2: The Mighty Puzzle Pieces (Building Bridges)
How does a whole picture or movie travel? It doesn’t go all at once!
When you send a message, it gets chopped up into tiny, super-fast puzzle pieces called packets 🧩.
These packets race across bridges and wires (like tiny, speedy delivery trucks). The protocols are like traffic lights 🚦 and rules that make sure no packet gets lost or bumps into another packet. They all travel separately, and then—whoosh!—they reassemble perfectly at the destination!
🌐 Chapter 3: The Magical Library (The World Wide Web)
In 1989, a brilliant inventor named Tim Berners-Lee created the World Wide Web. This was the real game changer!
He made it so you could click on words and pictures (links), and they would instantly teleport you to a different page. It was like opening a huge, never-ending, magical library where every book (or website) is linked to every other book!
Your web browser (like Chrome or Firefox) is your magical viewing window, allowing you to explore this infinite world with just a click! 🖱️
📡 Chapter 4: Power of the Invisible Air (The Age of Wi‑Fi)
For a long time, the internet needed thick, messy cables. But then came Wi‑Fi!
Wi‑Fi lets the internet travel through the air using invisible radio waves. 💨 It’s like giving your tablet or phone a superpower that allows it to catch knowledge floating all around you, even when you’re outside playing!
Your smartphone became a pocket portal, letting you explore anywhere you go! 🗺️
☁️ Chapter 5: Treasure in the Sky (Today’s Internet)
Where does all the data go? It floats in the Cloud!
The “Cloud” is just a fancy name for giant buildings filled with thousands of computers (servers) that store everything—your favorite games, your parents’ photos, and all the music in the world. They are giant digital treasure chests! 💰
When you stream a video, the song doesn’t even need to download; it travels instantly from the Cloud to your screen. It’s like the clouds are raining down songs and stories just for you! ☔🎶
The day Cyclone Ditwah made landfall remains one of the darkest chapters in Sri Lanka’s history.
This is a chronicle of the relentless winds, catastrophic floods, and widespread destruction —
and the resilience of the Sri Lankan people.
🌊 Coastal & Inland Flooding
Record-breaking rainfall and storm surges caused flash floods.
⚡ Infrastructure Collapse
High winds toppled towers and severed roads.
🌾 Agricultural Ruin
Paddy, tea, and coconut plantations devastated.
🏠 Humanitarian Crisis
Hundreds of thousands displaced; health crises followed.
For days, Sri Lanka was bound in Ditwah’s storm scroll. Winds tore through villages, rains drowned the roads, bridges collapsed into silence. Thousands were displaced, carrying fragments of their lives into shelters. The island felt like a verse erased by the cyclone’s hand.
But then, the sun came. Its light fell on broken roads, on shelters filled with weary families, on volunteers carrying food and hope. Children stepped outside, their laughter rising like a new chant. Farmers looked at their fields, and fishermen, who had carried their boats on lorries to support other areas, stood among the helpers. All saw not just damage but the promise of renewal.
The Chronicle turns a page
Destruction → resilience: Communities begin to clear, repair, and rebuild.
Darkness → light: Sunlight returns, bringing clarity and calm.
Loss → rebuilding: Aid, solidarity, and everyday rituals resume.
Ditwah will be remembered as a storm that tore verses from our scroll, but this day — the day the sun came — will be remembered as the first ink stroke of recovery.
Ditwah has passed away from the island, moving toward India,
but the after‑effects are still unfolding. Even this morning,
landslides continue to strike, reminding us that the storm’s story is not yet finished.
Communities must remain vigilant, careful, and united as recovery begins.
The sun has returned, but caution and resilience are still needed to protect lives and rebuild safely.
🌪️➡️🌞 After Ditwah, the Sun Returns
Days of rain, winds, and broken roads… Sri Lanka stood in darkness.
Today the sun came back — shining on shelters, on faces lifted with hope, on the first steps of recovery.
This is not just light — it’s the first ink stroke of resilience.
View Complete Photo & Image Details
For a high-resolution, in-depth view of the infrastructure damage, coastal erosion, and full visual evidence related to the cyclone’s impact, please visit the dedicated gallery.
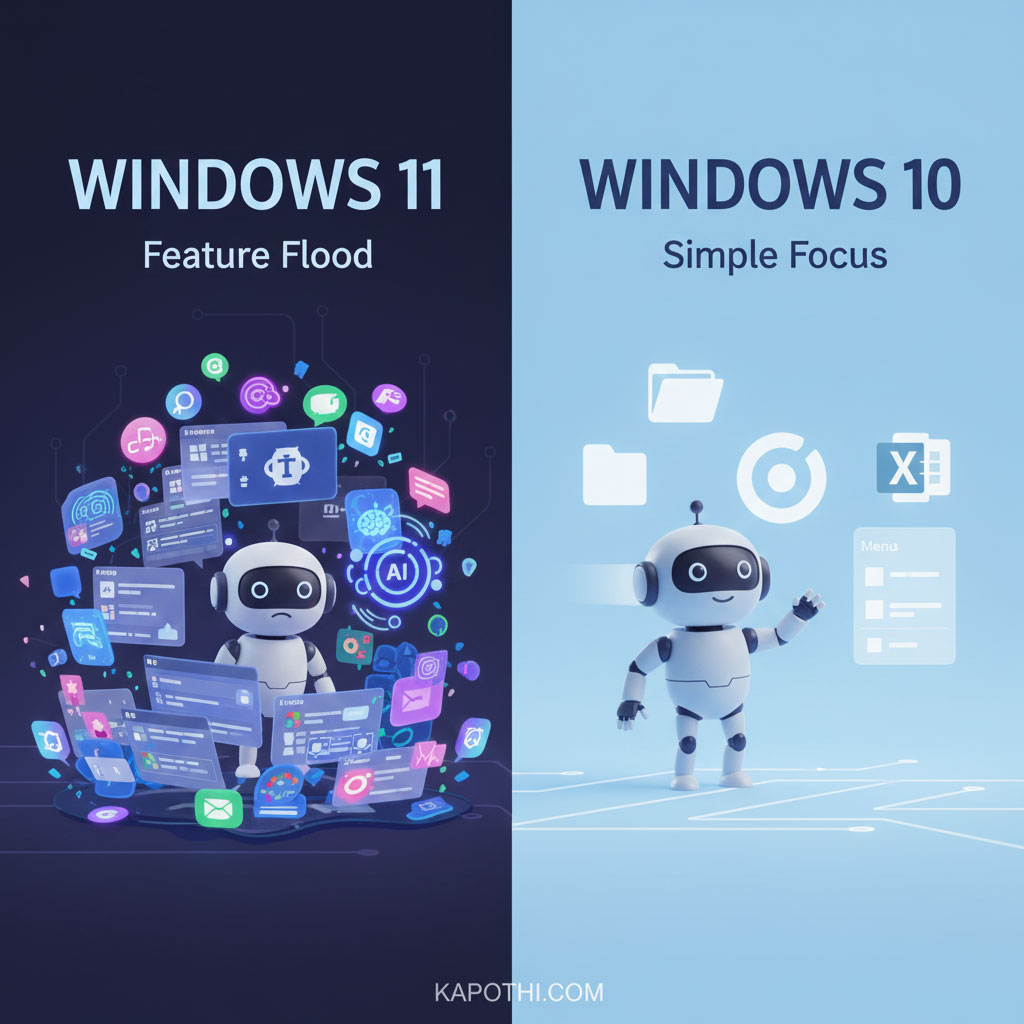
Windows 11’s Many New Features vs Windows 10’s Simple Focus
Introduction
Microsoft’s Windows computer system is always changing and getting new things. With Windows 11, they added lots and lots of new features – like widgets, built-in Teams chat, smart ways to arrange windows, and easy-to-use touch menus. But the truth is simple: most people don’t use these new things. They stick to the same everyday tasks they’ve done for years.
What most people do on Windows every day
File Explorer: opening, copying, renaming, and organizing files.
Web browsing: Using Chrome, Edge, or Firefox for daily internet stuff.
Office apps: Word, Excel, Outlook — important tools for work or school.
Basic settings: Adjusting Wi‑Fi, printers, sound, and screen.
Entertainment: watching videos, listening to music, or playing simple games.
These are the main things people do every day. Everything else just sits there, unused.
Why Windows 11 feels slow or heavy
Background programs: Widgets, data collection, and Teams chat run all the time, even if you’re not using them.
Design extras: Rounded corners and fancy looks use up more of your computer’s power.
Right-click menu changes: You often have to click “Show more options” which takes longer for experienced users.
Preloaded apps: Many apps come already installed, using up computer resources even when idle.
Memory use: Windows 11 uses more RAM (your computer’s short-term memory) when just sitting there, compared to Windows 10.
For many, this makes Windows 11 feel a bit heavy and slow, even if it looks nice.
The difference between what Microsoft wants and what users do
Microsoft sees Windows as a system for everything: getting work done, having fun, working together, and using AI. But most people just use it as a simple tool for their main tasks. This difference causes problems: new features keep appearing, but not many people actually use them.
Why Windows 10 still feels right
Fast performance: It has fewer programs running in the background.
Direct design: No extra clicks needed for menus.
Less extra software: Fewer pre-installed apps.
Familiar setup: Users already know where everything is.
Windows 10 is like a clear, simple tool — fast, direct, and easy to use.
Conclusion
Windows 11 might have over a thousand features, but most people only need a few. The rest are just extra decorations, admired by some but ignored by many. For everyday computer use, keeping things simple is better than having too much. Windows 10 stays faster and more responsive for those who prefer speed and clarity over fancy looks.
Windows 10 vs Windows 11: Rituals of Use
#
Daily ritual
Windows 10
Windows 11
1
File Explorer
Classic, direct, full context menu
Decluttered, extra “Show more options” step
2
Web browsing
Runs smoothly with minimal background load
Slightly heavier due to Edge integration & services
3
Office apps
Seamless, lightweight performance
Same apps, but UI layering adds overhead
4
Basic settings
Straightforward Control Panel & Settings
Modern Settings app, but slower navigation
5
Entertainment
Lean playback, minimal bundled extras
Extra apps & services preloaded, heavier footprint
Remember when we journeyed through the eras of CDs, DVDs, and Blu-rays? Those shiny discs were amazing for their time, but technology never stops evolving! Today, we’re blasting off into the next chapter of digital storage: the super-fast, super-portable world of Flash Memory and the limitless expanse of the Cloud!
Get ready to discover how our photos, videos, and important files moved from physical discs to tiny sticks, and then up into the internet skies!
The Flash Memory Era: Small Size, Big Storage!
Remember those floppy disks or even CDs for carrying files? They were bulky! Then came Flash Memory, tiny wonders that changed everything. Flash memory stores data electronically, with no moving parts, making it super fast and durable.
USB Drives (Thumb Drives / Pen Drives):
Timeline: Early 2000s (became widely popular)
These little sticks became the go-to for carrying files. Plug it in, drag and drop, and go! Capacity started small (like 8MB!) but quickly grew to hundreds of gigabytes.
SD Cards:
Timeline: Early 2000s (introduced, gained popularity through digital cameras)
Tiny postage stamp-sized cards that powered digital cameras, smartphones, and even gaming consoles. Perfect for expanding storage on small devices.
Main Uses: Portable file transfer, camera storage, expanding device memory, booting small operating systems.
Key Benefit: Small, durable, fast, and reusable!
The Rise of Solid State Drives (SSDs): Speed Beyond Spin!
For decades, computers used Hard Disk Drives (HDDs) with spinning platters. They worked, but they were slow and fragile. Then, SSDs arrived, taking flash memory technology and putting it into your computer!
How they work: Like a giant, super-fast USB drive for your computer! No spinning parts means incredibly quick boot times, faster app loading, and instant file access.
Timeline: Mid-2000s (consumer introduction, gained traction Late 2000s / Early 2010s)
Capacity: Started smaller but now rivals and often exceeds traditional hard drives.
Main Uses: Primary storage for laptops, desktops, and servers, making everything feel snappier.
Key Benefit: Extreme speed, silent operation, more durable than HDDs.
Network Attached Storage (NAS): Your Own Private Cloud!
As our digital lives grew, so did our need for shared storage at home or in small offices. Enter NAS! Think of it as your very own, mini-server designed just for storing and sharing files over your home network.
What it is: A specialized computer box with multiple hard drives (or SSDs) connected to your home network.
Timeline: Early 2000s (commercial availability, widespread home adoption Mid-2000s onwards)
Shared Access: Everyone in the house (or office) can store, access, and share files from their devices.
Media Server: Great for storing all your movies and music to stream to smart TVs or phones.
Key Benefit: Centralized storage, easy sharing, private and under your control.
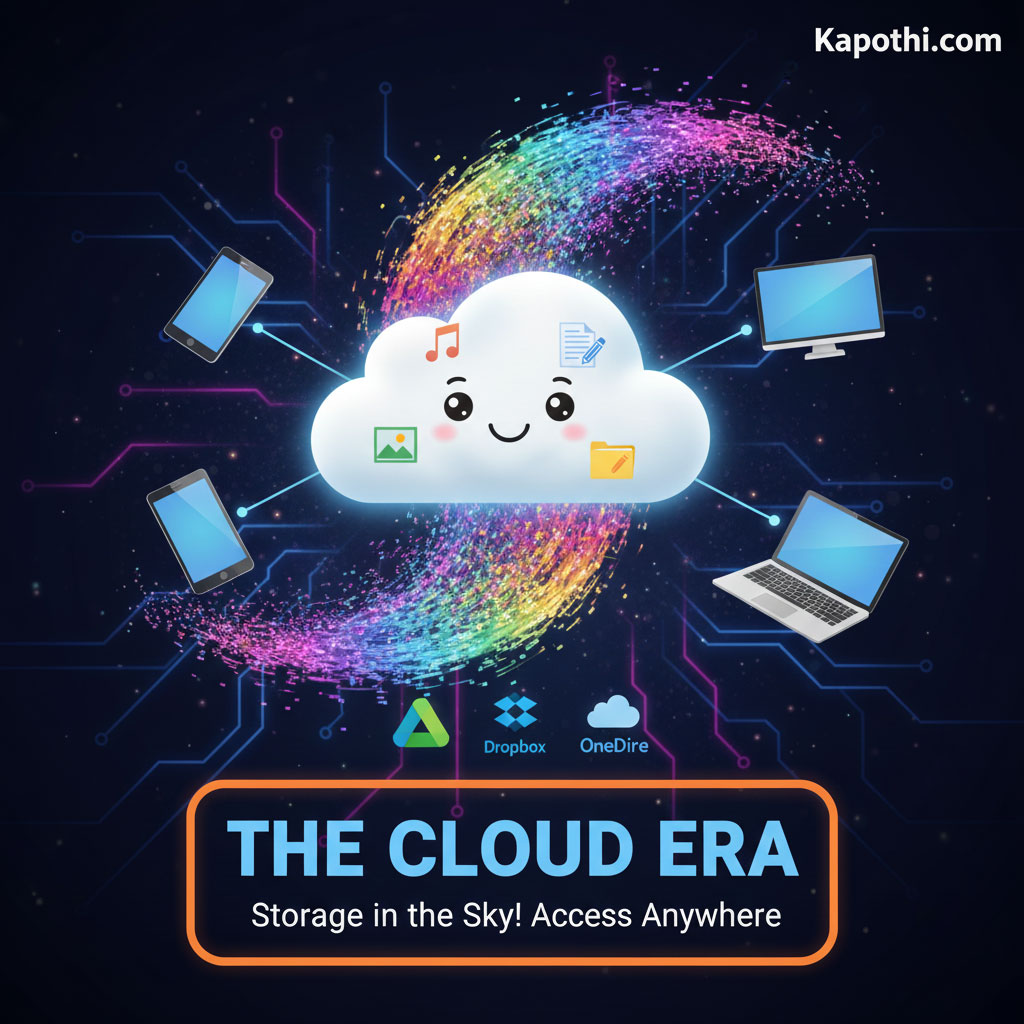
The Cloud Era: Storage in the Sky!
And finally, the ultimate shift: the Cloud! Instead of storing files on your own device or a local drive, you store them on powerful servers maintained by companies like Google, Microsoft, or Amazon, accessed over the internet.
How it works: Your files live on massive data centers far away. You access them from anywhere with an internet connection.
Timeline: Mid-2000s (early services like Dropbox emerge), Late 2000s / 2010s onwards (widespread adoption and integration into daily life).
Examples: Google Drive, Dropbox, OneDrive, iCloud.
Main Uses: Backups, sharing large files, syncing documents across devices, streaming media without using device space.
Key Benefit: Access anywhere, automatic backups, easy sharing, scalability (buy more space when you need it).
From Tiny Chips to Global Networks!
From the simplicity of a USB stick to the vastness of the cloud, digital storage has come a long way. Each step has made our data more portable, faster to access, and easier to share. What an incredible journey!
What’s your favorite way to store your files today? Share your thoughts in the comments below!


.jpg)
.jpg)
.jpg)
.jpg)
.jpg)
.jpg)
.jpg)
.jpg)
.jpg)
.jpg)
.jpg)
.jpg)
.jpg)
.jpg)
.jpg)
.jpg)
.jpg)
.jpg)
.jpg)
.jpg)
.jpg)