🚀 From Shiny Discs to Invisible Clouds: Our Digital Storage Adventure!
Hey Tech Explorers! 👋
Get ready for an amazing journey through time! Remember how we talked about the super old floppy disks? Well, after those came shiny discs, and now our digital stuff lives in invisible clouds! This story isn’t just about technology changing; it’s about how we listen to music, watch movies, and keep our memories safe. Come with us as we zoom from holding music in our hands to having entire libraries ready to stream anywhere!
Our Awesome Storage Timeline!
Check out how our storage world kept growing and changing:
The CD Era: Our First Shiny Discs!

Imagine your favorite songs on a shiny silver disc! CDs taught us the joy of owning music, with cool album art and the fun of making mixtapes for friends.
- How much it held: Around 700 MB (Megabytes). That’s like a few hundred photos!
- What we used them for: Listening to music albums, installing early computer software, and backing up small files.
- Different Kinds of CDs:
- Audio CD: For music! You could play them in your home stereo or car.
- CD-ROM: For computers! These held games (like encyclopedias!) and software you could read (ROM = Read-Only Memory).
- CD-R: You could record on these ONCE, like making a special music mix or saving your own files.
- CD-RW: These were super cool because you could record, erase, and record again, perfect for backups!
- MP3 CD: These could hold hundreds of songs on just one disc because the songs were compressed to be smaller!
The DVD Era: Hello, Hollywood at Home!

DVDs came along and changed movie nights forever! These discs held way more than CDs, bringing bigger, better movies and huge computer programs right to our homes.
- How much it held: 4.7 GB (Gigabytes) on one side, or 8.5 GB on a super-duper dual-layer disc! (That’s like 7-12 CDs of storage!)
- What we used them for: Watching awesome movies, installing big PC games and software, and storing lots of data.
- Different Kinds of DVDs:
- DVD-Video: Standard movies with cool menus and extra scenes, just like at the cinema!
- VCD (Video CD): These were like mini-DVDs popular in some parts of the world, making movies affordable.
- DVD-ROM: For computers! Held big software suites and lots of games.
- DVD-R / DVD+R: Record on these once, great for saving home videos or big backups.
- DVD-RW / DVD+RW: Rewritable, so you could use them again and again for different projects.
- MiniDVD: Smaller DVDs often used in camcorders to record family memories.
The Blu-ray Era: Crystal Clear Super Storage!

When TVs got super clear (High Definition!), we needed even bigger discs! Blu-ray discs stepped up, bringing amazing picture quality and even more storage for giant files.
- How much it held: 25 GB per layer! Some had many layers, holding up to 100 GB! (That’s like 5-10 DVDs or over 140 CDs!)
- What we used them for: Watching super-high-definition movies (even 4K!), playing awesome PlayStation games, and backing up huge projects.
- Different Kinds of Blu-rays:
- Blu-ray Video: For movies in incredible detail, with extra cool features.
- Blu-ray Data Disc: For archiving and saving massive computer files.
- BD-R: Record-once Blu-ray for burning huge amounts of data.
- BD-RE: Rewritable Blu-ray for saving and updating large archives.
- Mini Blu-ray: Smaller discs, sometimes used in special camcorders.
The Great Shift: From Discs to Invisible Clouds!
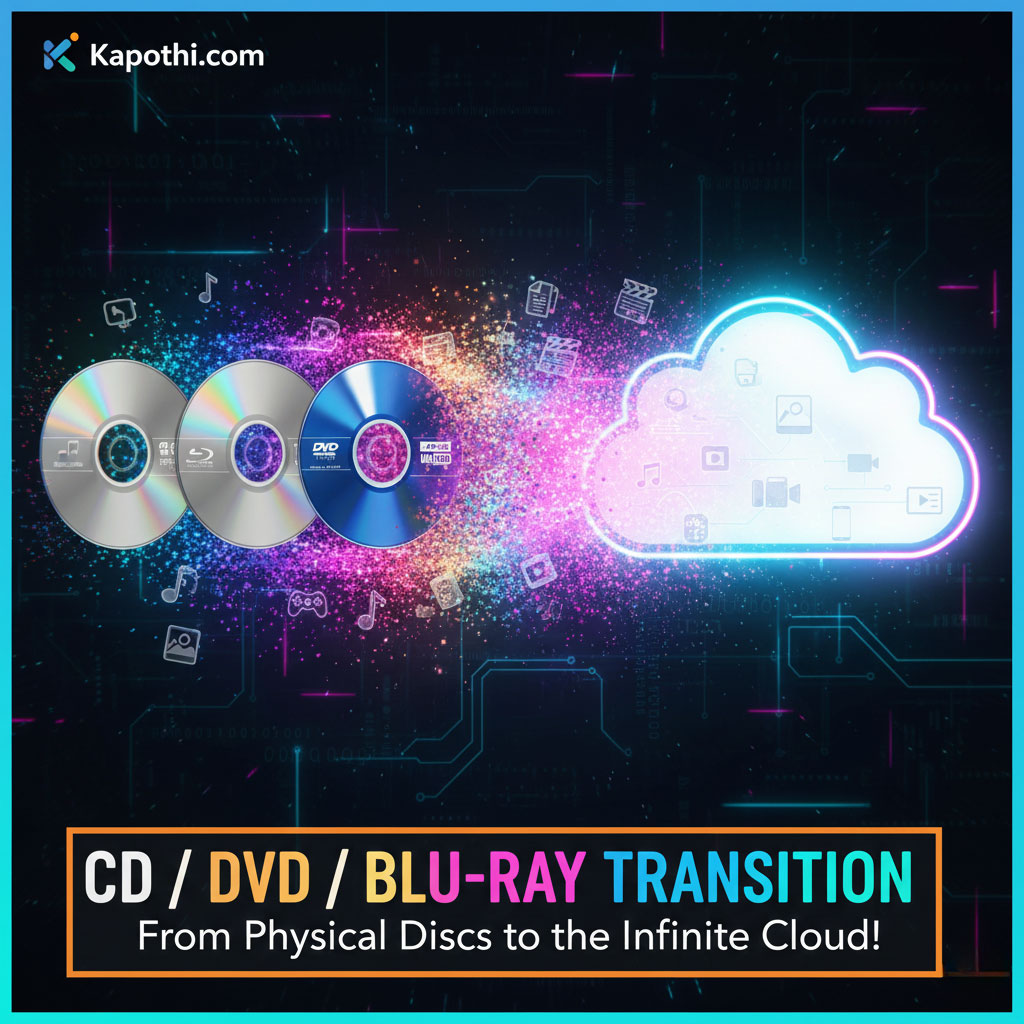
After all those awesome discs, something even bigger and more magical happened: our stuff started living in the **Cloud!** This means our music, movies, and files don’t need a physical disc anymore; they live on super-powerful computers (servers) far away, and we access them through the internet!
- Cloud Storage: Like Google Drive or Dropbox! Your files live online, so you can access them from your phone, tablet, or computer – anywhere, anytime!
- Streaming Services: Hello Netflix, YouTube, and Spotify! Now, you just press “play” and the movie or music starts instantly, without needing a disc.
- No Discs Needed: Many new computers don’t even have a disc drive anymore because we just stream or download everything!
- Super Portable: Instead of carrying a disc wallet, your whole music and movie library fits in your phone!
Why Did Our Shiny Discs Go Away?
It’s not that discs weren’t cool anymore, but new technology offered even *more* amazing things! We found new ways to store and share data that were faster, bigger, and super convenient.
- Running out of Space: Our files got HUGE! A single Blu-ray disc, even with 100GB, wasn’t enough for endless movies or massive games.
- Faster is Better: Storing things on super-fast computer hard drives (like SSDs) or directly in the cloud became much quicker than reading from a disc.
- Cheaper Tech: Making those giant data centers for the cloud became more affordable, so we could all get lots of storage for less money.
- New Computers: Laptops got super thin, and there wasn’t room for a disc drive anymore!
- “Tap & Play” Wins: It’s just easier to tap a screen and start a song or movie than to find, load, and put away a disc.